Mastering Composition: A Beginner's Guide to Photography
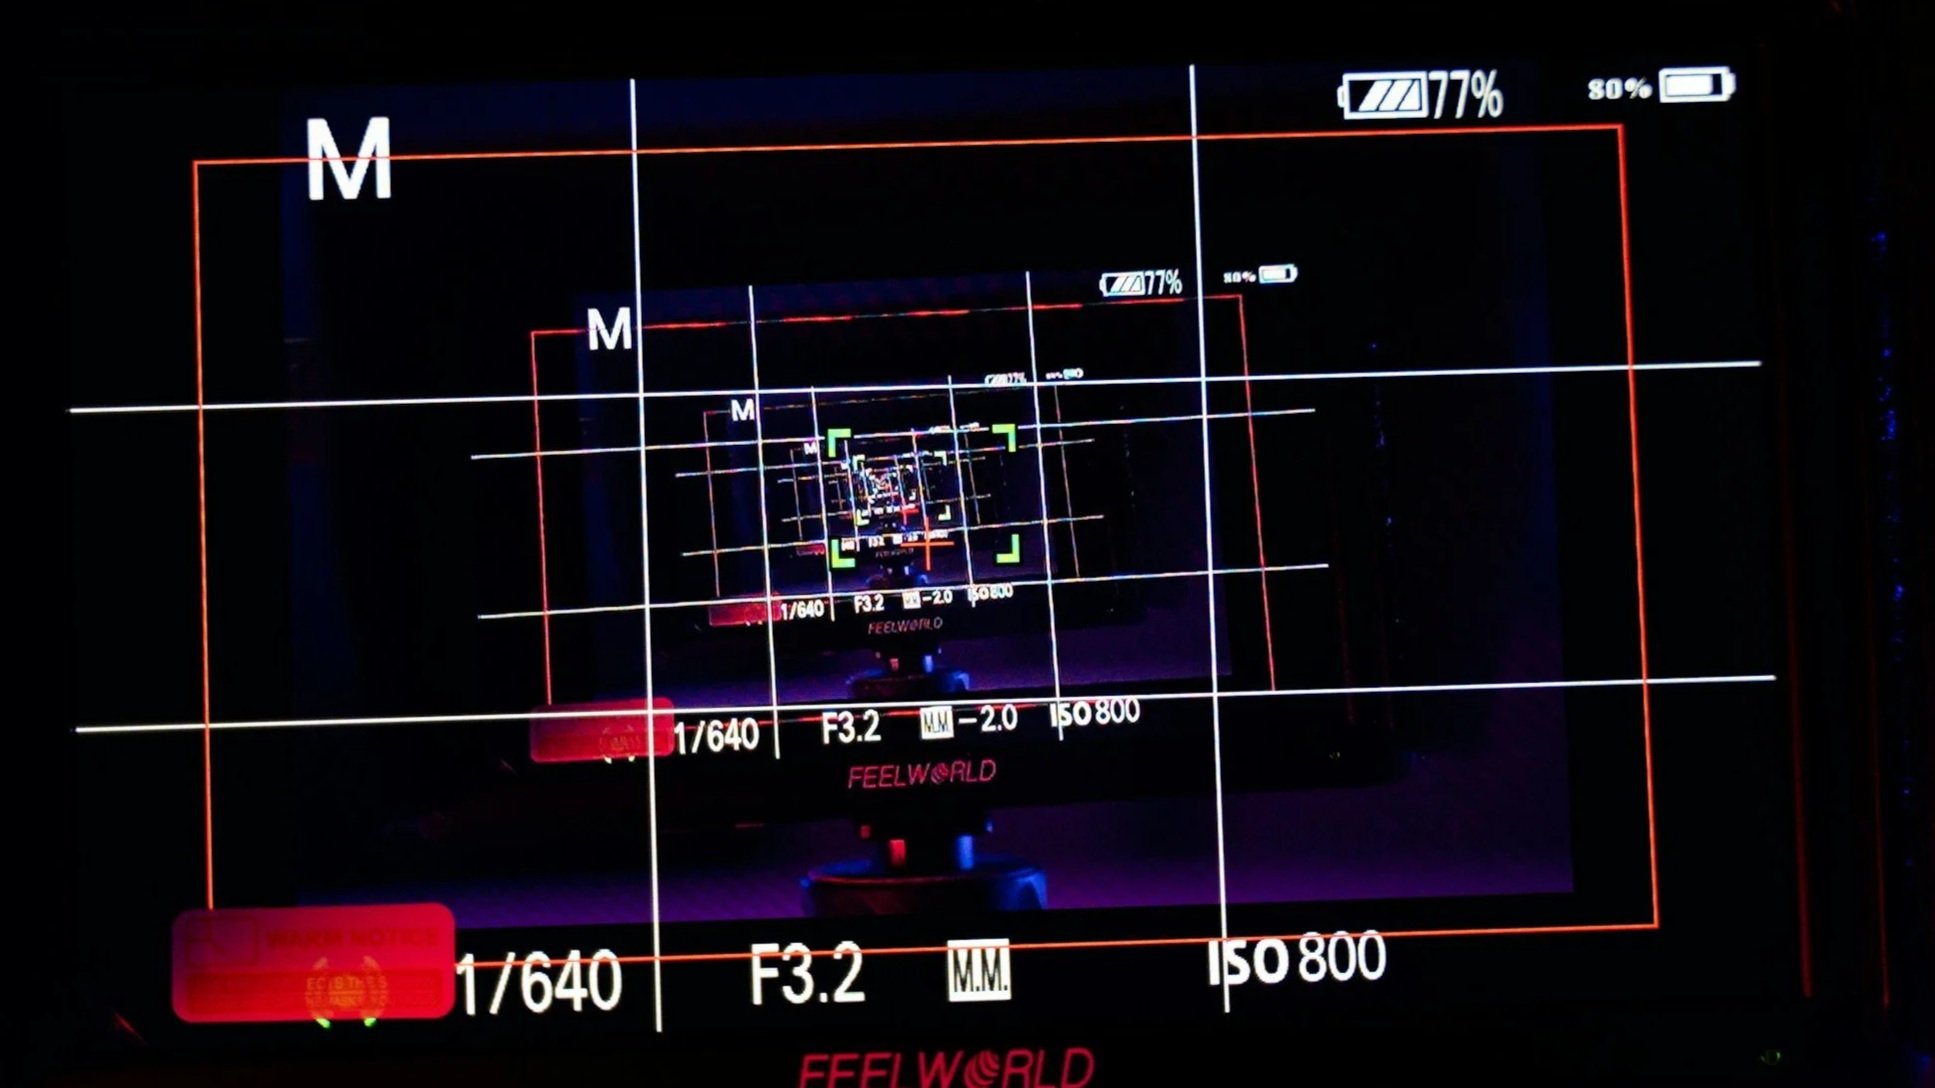
Welcome back! By now you've got a handle on Shutter Speed, Aperture, ISO, and how they all work together — the technical side of taking a photo. But there's one skill that has nothing to do with camera settings at all, and it's arguably the one that separates a snapshot from a photograph: composition.
Think of composition as the stage direction of your photo. It's not what's in the frame (mis-en-scene), it's where you choose to put it, and in what order you want someone's eye to travel across the image. Get it right, and a photo taken on a phone can stop someone mid-scroll. Get it wrong, and a photo taken on a very expensive camera can feel flat.
Picture yourself standing on the boardwalk at Dubai Creek Harbour at golden hour. You could point your camera straight at the skyline and take the shot everyone else takes. Or you could put the view-point (and other photographers!) in the left third of the frame, using the promenade railing down the slope as a leading line pulling the eye toward the Burj Khalifa in the distance. Same location, same light and a completely different photograph.

Dubai Creek Harbour at Sunset
Composition matters and it's free. It doesn't cost you a faster lens or a better camera body.All you need are a few extra seconds of thinking before you press the shutter (see my ‘case for slow photography’ post for a feel of what I mean). Unlike shutter speed or ISO, there's no single "correct" setting to memorise. It's a set of tools, and the more of them you know, the more choices you have.
So, how do you start thinking about composition as a beginner? Let's break it down:
Rule of Thirds: Imagine your frame divided into a 3x3 grid. Instead of centring your subject, place it along one of those lines or where the lines intersect. Most phone cameras let you turn this grid on in settings — use it while you're learning, you can always crop later.
Leading Lines: Look for lines in the scene; a path, a railing, a shoreline, a row of buildings which naturally draw the eye toward your subject. They give the viewer a route to follow through the photo instead of dropping them in the middle of it.
Framing: Use elements already in the scene; a doorway, overhanging branches, a gap between buildings with which to frame your subject within the photo. It adds depth and tells the viewer exactly where to look first.
Get Closer: New photographers tend to shoot too far away (it’s a habit often born out of natural shyness of the subject). If your subject doesn't fill enough of the frame, take a step closer, or zoom in, before you take the shot. It's the fastest way to make a photo feel intentional rather than accidental.
Negative Space: Not every part of the frame needs something in it. Maybe it’s empty sky, a plain wall, some calm water. Leaving space around your subject gives it room to breathe and often makes it feel more striking, not less.
Learn the rules, then break them: Once these last five points feel natural, start breaking them on purpose. A dead-centred subject, a tilted horizon, someone looking out of frame instead of into it. These composition "rules" are really just the safe defaults and the most memorable photos usually bend one of them.

A portrait of two people in negative space

Click on image to enlarge
Composition is the one skill you can practice without even carrying a camera. Next time you're out for a walk, start noticing how you'd frame the scene in front of you — where the lines run, what you'd put in the corners, what you'd leave out. That habit, more than any setting on your camera, is what starts turning your photos into images people actually stop and look at.
Whether you're just starting out or need a refresher, we have something to suit your needs. Take a look at our Photography courses.
New to the series? Start with Mastering Low Light Photography.